

How to Plant Almond Trees: A Step-by-Step Guide for Small Orchards
A practical walkthrough of planting bare-root almond trees in a small orchard — from choosing a well-drained site to spacing, the first watering, and early care.
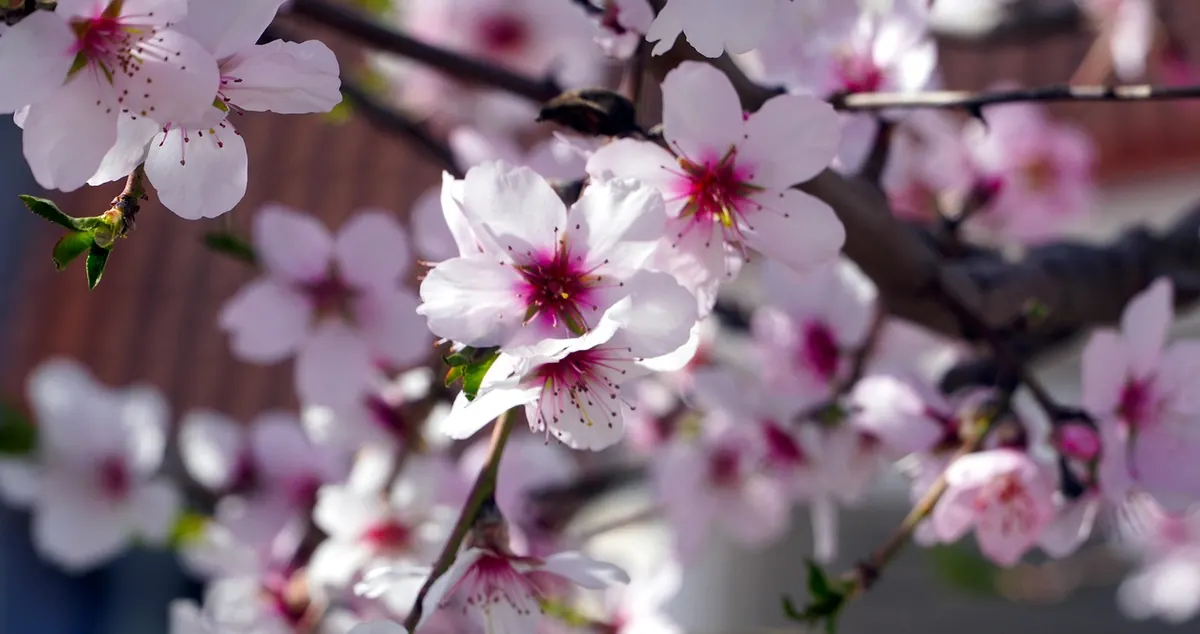
Almond trees are patient. Give them a good start and they will spend the next twenty years or more paying you back in blossom, shade and nuts. Get that start wrong — plant too deep, choose the hollow where frost settles, drown the roots in the first week — and you will spend years working around the mistake. None of it is complicated. It is mostly a matter of doing a few important things in the right order, and then leaving the tree alone to do what it already knows how to do.
What follows is the process as it actually happens in a small orchard: picking the ground, choosing bare-root trees, setting out the spacing, planting, the first watering, and the care that carries a young tree through its first two seasons.
Choosing the Site
Three things matter more than anything else: sun, drainage and cold air. Get those right and most other problems shrink to a manageable size.
Sun. Almonds want full sun — six to eight hours a day, and more is better. A site that is shaded in the morning dries slowly and holds dew on the leaves, which is exactly the condition you do not want in spring.
Drainage. Almond roots hate standing water. Before you commit, dig a hole about the depth of a spade, fill it with water and let it drain, then fill it again. If the second fill is still sitting there a day later, find another spot — or plan to plant on raised mounds.
Cold air and frost. Almonds bloom early. That single fact shapes site selection more than any other. Cold air behaves like water: it flows downhill and pools in hollows, behind hedges, against walls. Avoid those pockets. A gentle slope lets cold air drain away overnight, and a site that warms a little later in spring can save you a crop. Check the winter chill requirement of the variety you intend to grow against your own climate before ordering anything.
Soil matters too, though almonds are forgiving. They prefer a deep, free-draining loam and tolerate stony or slightly alkaline ground better than heavy clay. If your soil is thick and slow, plant on a mound and keep the graft union well clear of the surface. Also think about the boring practicalities: where the hose reaches, where the mower goes, and which direction the prevailing wind comes from.
Choosing and Ordering Your Trees
Bare-root trees are lifted from the nursery in winter and sold dormant. They are cheaper than container-grown stock, carry a better root system, and usually establish faster — provided you handle them properly. Order in autumn for delivery in the dormant season.
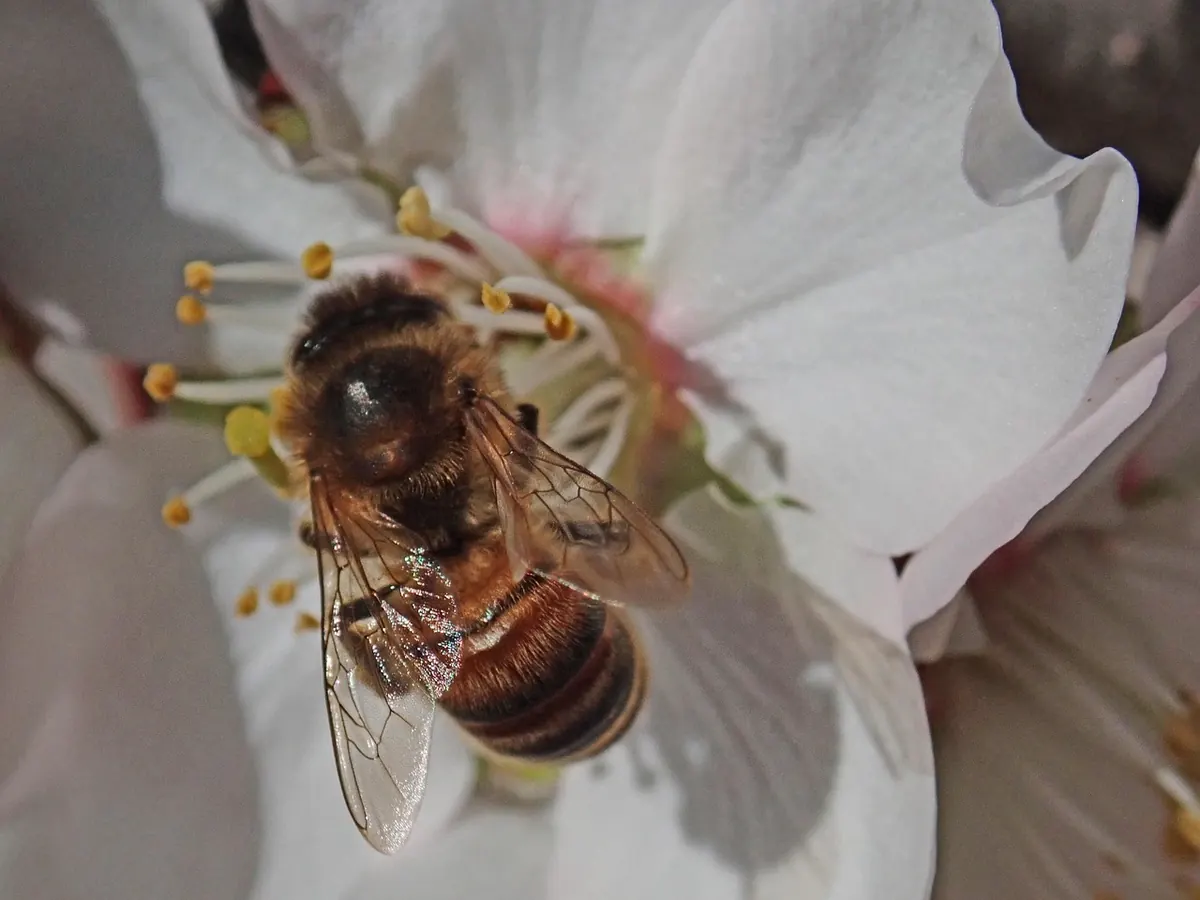
Most almond varieties are self-incompatible, which means they need a different variety nearby that flowers at the same time. Unless you choose one of the self-fertile varieties, plan on at least two. Ask the nursery which variety pollinates the one you want; getting this wrong means blossom and no nuts.
Rootstock decides how big the tree becomes and how well it copes with your soil. Vigorous seedling rootstocks suit dry, poorer ground and standard spacing; semi-dwarfing options make more sense in a tight garden. Look for a tree with a single clean leader, well-spaced roots and an undamaged graft union. If you cannot plant within a day or two of delivery, heel the trees in — lay them in a shallow trench, cover the roots with soil or damp sawdust, and keep them shaded.
Spacing and Layout
Standard almonds on vigorous rootstock want roughly six to seven metres between trees and the same between rows. Semi-dwarfing trees can come down to four or five metres. Do not crowd them to fit in a few extra; almonds need airflow through the canopy, and a tight planting is a gift to disease.
Set out the positions with stakes and check the line from two directions before you dig a single hole. If you are growing two varieties, arrange them so that no tree is far from its pollinizer — in a small orchard, simply alternating rows works well. Leave room for a path wide enough for a wheelbarrow and a mower, and keep a little space on the windward side for a hedge or windbreak if you need one.
Planting a Bare-Root Tree, Step by Step
Plant in late winter or early spring, while the trees are still dormant and the ground is workable. Frozen or waterlogged soil is a reason to wait a week.
- Soak the roots for a few hours before planting — not days. Trim any broken ends with a clean cut.
- Dig a hole wider than the root spread and no deeper than the roots need. Keep the topsoil in one pile and the subsoil in another.
- Check the planting depth. You can usually see a colour change on the trunk marking the nursery soil line. The graft union should finish five to ten centimetres above the final soil level, allowing for settling.
- Build a small cone of soil in the base of the hole and spread the roots over it in their natural directions. No circling, no bunched clumps.
- Backfill with the soil you removed, topsoil first, firming it in layers with the heel of your boot. Gentle pressure, not stamping.
- Water slowly and thoroughly to settle the soil around the roots, even if rain is forecast.
- Stake only if the site is windy or the tree is large, and use a soft tie in a figure-eight so the trunk is held but not strangled.
- Mulch in a ring with compost or straw, five to eight centimetres deep, pulled back a hand's width from the trunk. Add a guard against rabbits if you have them.
The most common mistake is planting too deep. The second is filling the hole with rich compost: the roots stay inside that pocket of luxury instead of reaching out into the real soil. Backfill with what you dug out, then mulch on top.
The First Watering and the First Summer
A newly planted tree has a small root system and a lot of top to keep alive. Water it at planting, then keep the soil moist but never saturated. Deep, occasional soaking beats a daily sprinkle — it encourages roots to travel downward instead of loitering at the surface. In a dry first summer, one good soak every week to ten days is usually enough; push a finger or a trowel into the soil to check before you reach for the hose.
Drip irrigation with one or two emitters per tree makes the first years much easier, but keep the trunk from sitting wet. If leaves yellow and the soil smells sour, you have a drainage problem, not a watering problem.
Early Care in Years One and Two
Do not feed a newly planted tree. A light nitrogen application after growth begins in spring is plenty, and from the second year onward you can fertilise according to a soil test rather than habit. Rich feeding in year one produces soft, sappy growth that invites aphids and disease.
Pruning at planting should be minimal: remove damaged branches, shorten an over-tall leader, and leave the rest to feed the roots. Structural pruning begins the following winter, when you start choosing the main limbs. Keep a clean ring about a metre across around each trunk — in the first year, weeds take more from a young tree than anything else. Walk the rows weekly through the first summer and look closely: buds that fail to open, dieback from the tips or chewed bark all tell you something. If you are unsure whether a tree is alive, scratch a little bark with a thumbnail; green underneath means it is.
A Short Planting Checklist
If you remember nothing else, remember these. They are the difference between an orchard that settles in quietly and one you spend years patching up.
- Full sun, free drainage, no frost pocket.
- Two compatible varieties unless yours is self-fertile.
- Graft union above soil level after settling.
- Native soil back in the hole, mulch on top.
- Deep soak at planting, then water deeply and less often.
- Weed-free ring and a guard against rabbits.
Plant well, water sensibly, and then resist the urge to fuss. An almond tree put in the ground properly will spend its first season quietly building roots — and its second surprising you with growth you did not expect.
Photo: matthiasboeckel / Pixabay